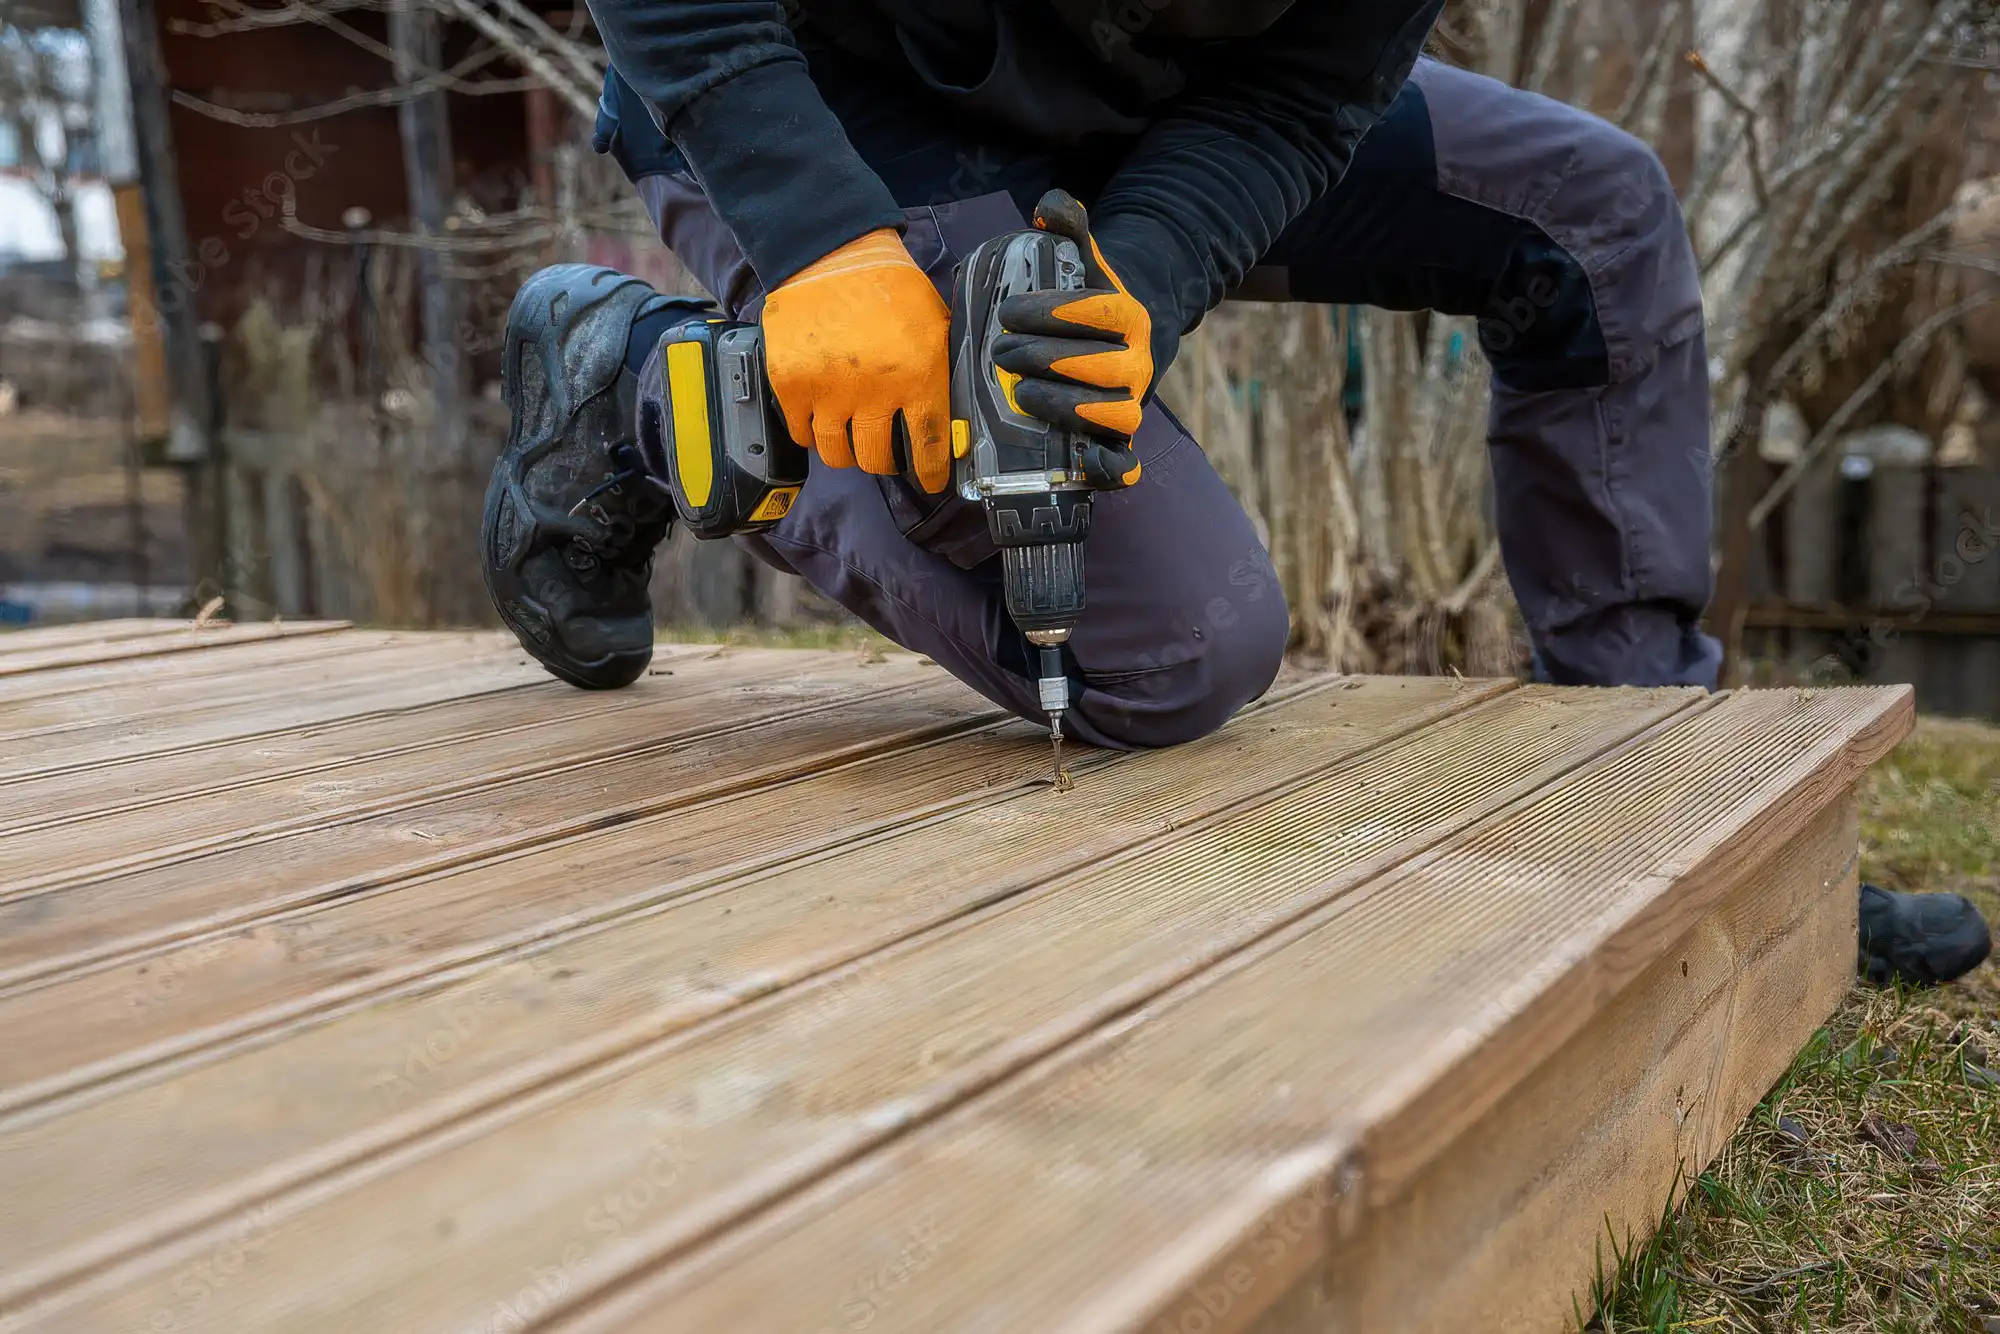
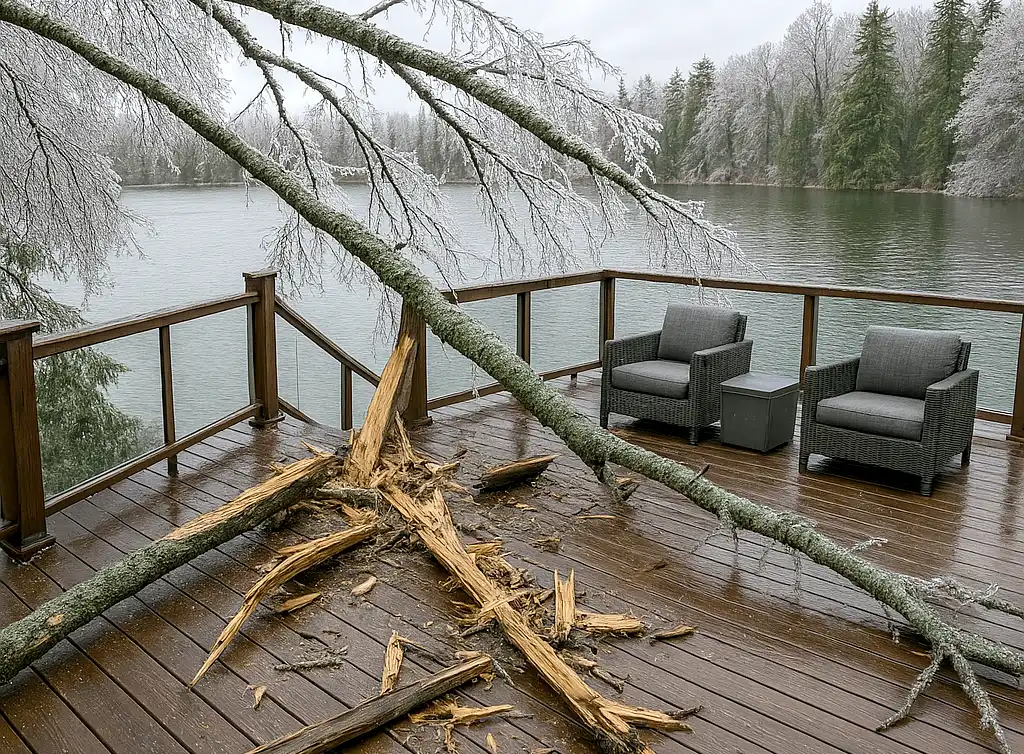
Ensuring the safety and structural integrity of your deck starts with proper reinforcement of joists and support beams. Without these repairs, your deck could face hazardous conditions like collapse or severe damage, especially under heavy use. Reinforcing these components not only safeguards against risks but also extends the lifespan of your deck. Below is a detailed step-by-step guide for deck joist reinforcement techniques, including adding support cleats, sistering joists, and addressing underlying structural issues to maintain a secure and durable deck.
Step-by-Step Instructions
1. Assess the Damage
- Inspect the deck thoroughly for signs of sagging, cracking, rotting, or weakened joists and beams.
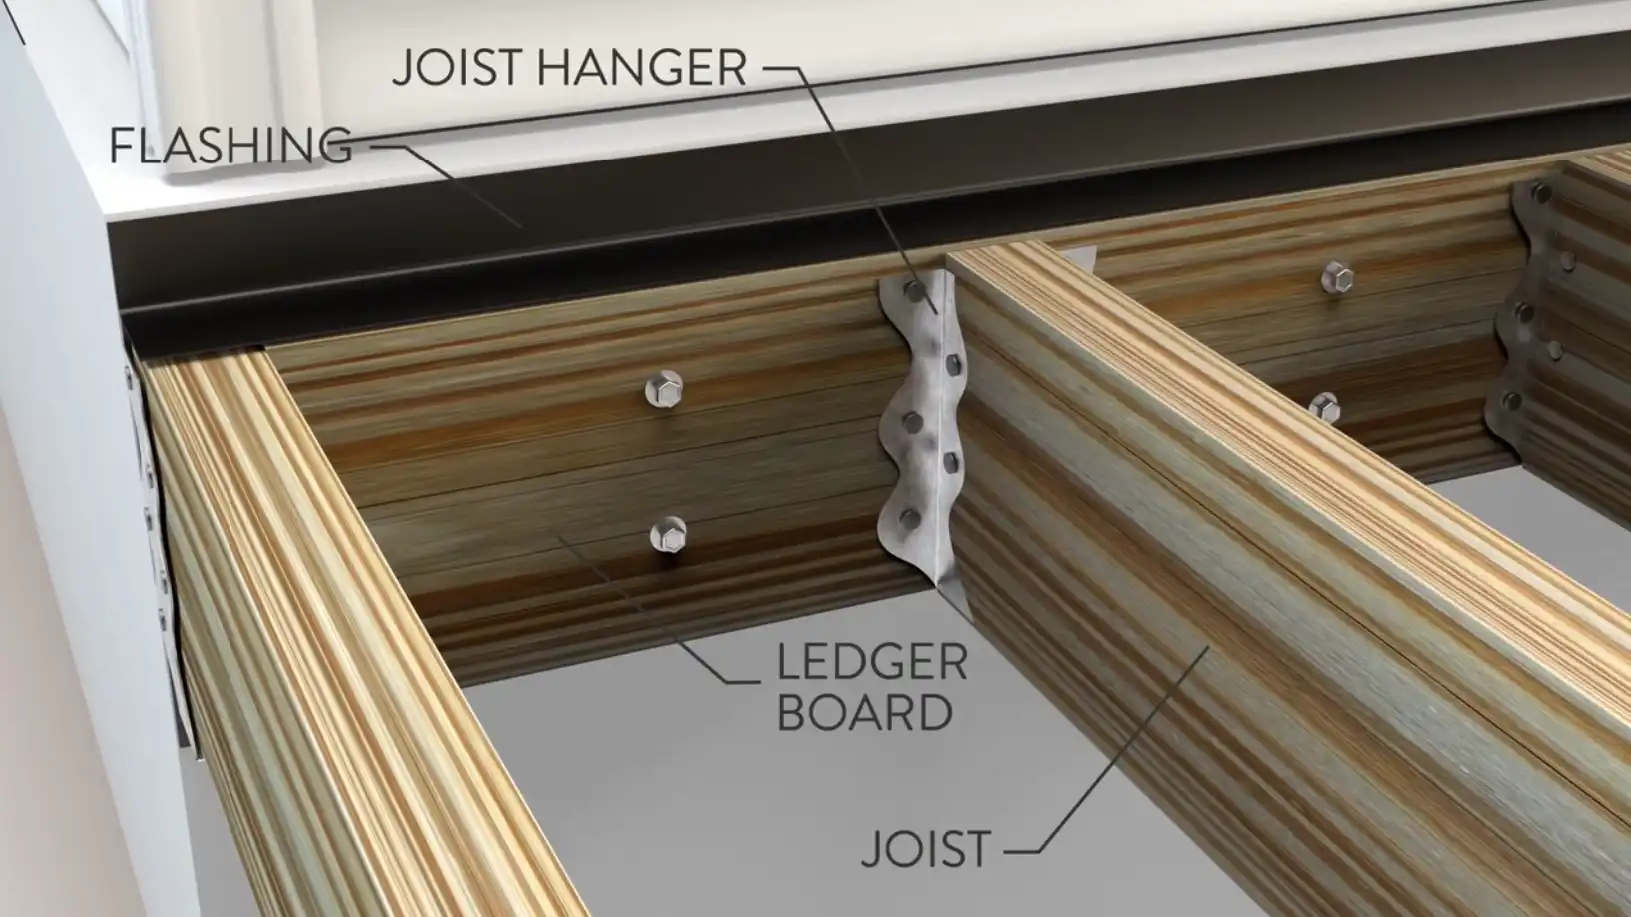
- Use a screwdriver to probe for rot in joists or beams, applying gentle pressure every 6-12 inches along their length. If the wood is soft or crumbles, it needs repair or replacement. For areas with partial damage, remove the affected sections and reinforce with new, pressure-treated wood as needed. Use reliable joist hangers such as the Ironwood Joist Hanger Flush 6-8 or Laredo Sunset Joist Hanger Flush 6-8 for secure support.
- Check for loose fasteners, rusted hardware, or structural misalignments that may compromise stability.
2. Prepare the Area
- Remove any damaged boards or obstructions to access the joists and beams.
- Clear electrical cables, pipes, or other obstructions from the repair area. If not removable, consult local building codes for acceptable notching of new joists.
3. Add Support Cleats
- Cut and Prepare Cleats: Cut 12-inch sections of 2×4 lumber. Pre-drill pilot holes to prevent splitting.
- Position and Secure: Place cleats flush against the inside face of the existing joist or beam. Align their tops with the top of the existing structure.
- Fasten: Secure cleats using 2½-inch deck screws or framing nails for added stability.
4. Sistering Joists
Sistering involves attaching a new joist alongside an existing one to reinforce it.
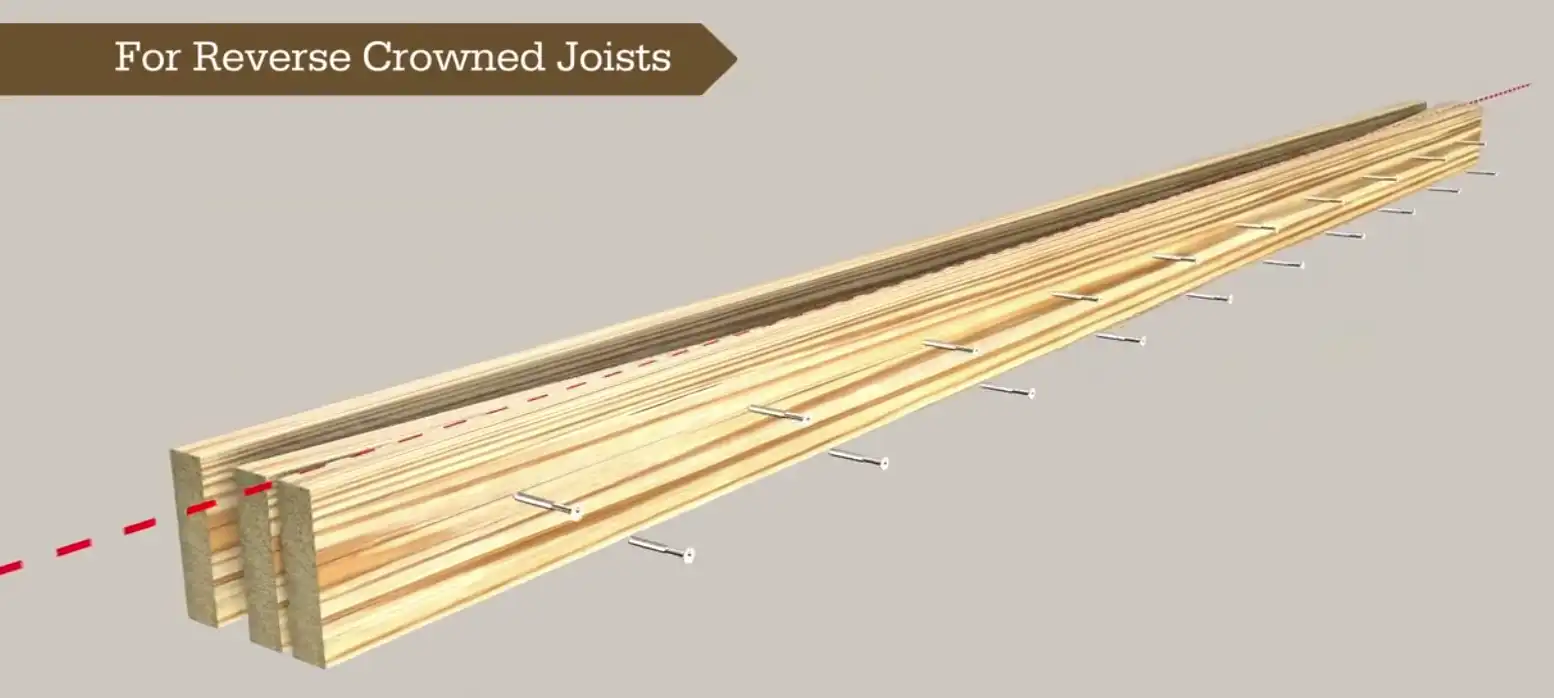
Steps for Sistering:
- Measure and Cut: Cut a new joist to match the length of the damaged one. Ideally, extend it across the entire span or at least 3 feet beyond damaged areas on both sides.
- Jack Up Sagging Joists: Use a hydraulic jack and a temporary beam to lift sagging joists slowly (about 1/8 inch per day) until level. Avoid jacking too quickly to prevent wall cracks above.
- Apply Adhesive: Spread construction adhesive along the face of the existing joist to improve bonding.
- Fasten Joists Together: Attach the sister joist using three 16d nails spaced every 16 inches or use lag bolts for stronger connections. Drill pilot holes if working with old wood to prevent splitting.
- Ensure Bearing Support: Ensure that sistered joists rest on proper bearing points like girders or posts at both ends
5. Reinforce with Blocking
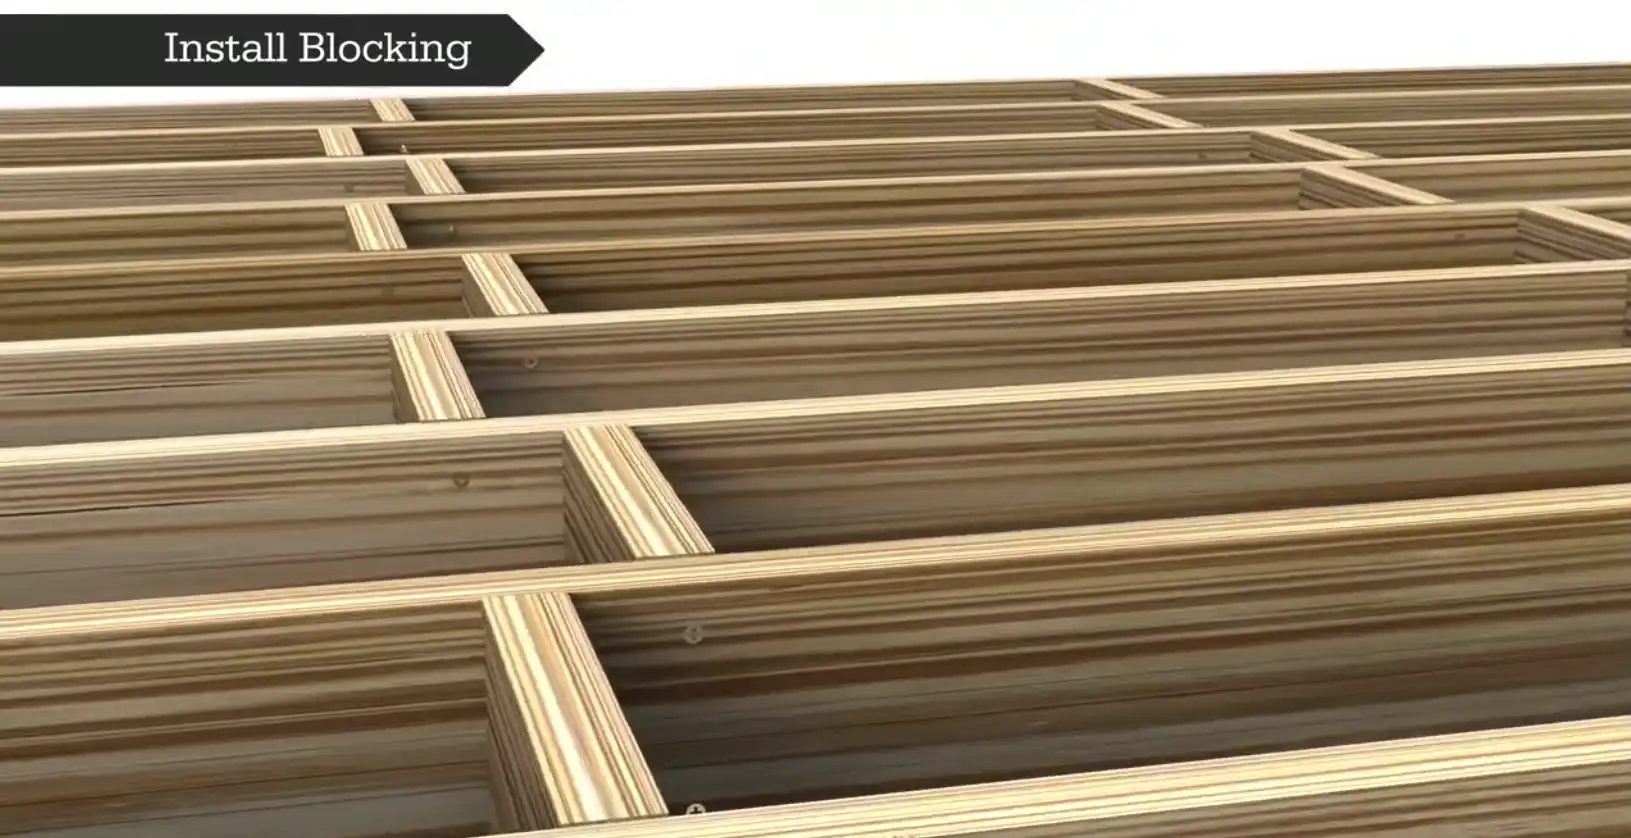
- Install solid blocking perpendicular to joists at mid-span to reduce deflection and distribute loads evenly.
- Snap a chalk line along mid-span, cut blocks slightly longer than the space between joists to ensure a snug fit, and tap them into place with a hammer. This extra length helps provide a secure connection by compensating for slight variations in spacing.
- Secure blocks with framing nails in a straight line for maximum strength. Reinforce connections further with durable beam brackets like the Ironwood 6-8 Beam Hanger Flush or Ironwood 6 Beam Hanger.
6. Address Underlying Structural Issues
- Inspect beams and posts for rot or damage. Replace compromised components with pressure-treated lumber.
- Add support columns under beams if necessary, ensuring footings are below frost lines to prevent shifting due to temperature changes. Consider using Compression Post Bases or Titan Post Anchoring Solutions for additional stability.
- Tighten loose railings and fasteners or replace them with corrosion-resistant hardware as needed.
7. Finishing Touches
- Apply wood sealant, such as a high-quality outdoor brand like Thompson’s WaterSeal or Rust-Oleum’s Spar Varnish, to protect repaired areas from moisture and rot.
- Install flashing tape over cleats and sistered areas to enhance water resistance. For superior protection, consider G-Tape 3040BK Flashing Tape.
- Reinstall decking boards, ensuring they are securely fastened and aligned.
Pro Tips
- Always use corrosion-resistant fasteners like galvanized screws or stainless steel bolts in outdoor environments.
- When selecting lumber for repairs, choose pressure-treated wood for durability.
- Consult local building codes or a structural engineer if unsure about load requirements or repair techniques. This is especially crucial for decks located in regions with heavy snowfall, high winds, or seismic activity, as these conditions can place additional stress on the structure.
By following these steps carefully, you can effectively reinforce your deck’s structural components, ensuring its safety and longevity. For high-quality screws and fasteners, check out Trapease Deck Screws or CAMO Collated Deck Screws for Pressure Treated.
Visit The Deck Store
For expert guidance, high-quality materials, or professional installation services, visit The Deck Store. Let our experienced team help you create a secure and beautiful outdoor space you’ll enjoy for years to come. Whether you’re tackling repairs yourself or need professional assistance, we’re here to ensure your deck stands the test of time.

